
Roaming charges used to be the dark side of international travel. You would land in a new country, turn off airplane mode, and spend the next two weeks nervously checking your data usage like it was a stock portfolio. Then you would get home to a phone bill that looked like a ransom note.
eSIMs changed the game. While most travelers still don’t know they exist, the ones who do are browsing maps, booking restaurants, and calling Ubers the second they step off the plane. They skip the hunt for a local SIM card and avoid the high costs of roaming with providers back home.
If you’re ready to stay connected, here’s everything you need to know about this digital data:
Contents
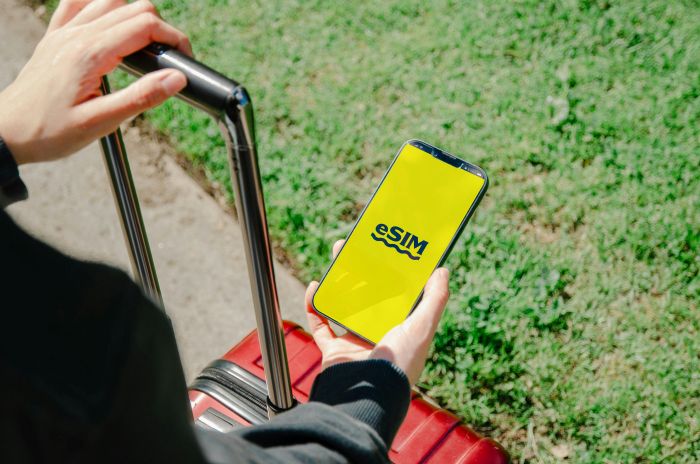
What Is an eSIM?
An eSIM is a digital SIM card built into your phone. The “e” stands for embedded. Instead of inserting a small plastic card into your device, you download a mobile plan directly to your phone.
With a physical SIM card, you physically remove one card and replace it with another when you change carriers or travel abroad. With eSIM, there’s nothing to remove. You simply scan a quick response (QR) code or install a plan through an app, and your phone connects to a new network.
Many newer smartphones, tablets, and even some smartwatches support eSIM. If your device is recent, there’s a good chance it already has this feature. You can check in your phone’s settings under cellular or mobile data to see if eSIM is available.
For international travel, this means you can buy a data plan for your destination before you even leave home. Once you arrive, your phone connects automatically.
However, to get started, you need to find a reliable eSIM provider that offers coverage in your destination. For example, if you want to explore the British Museum, look for the best eSIM for UK. This will make it easier to pull up directions, check opening hours, and read about exhibits without worrying about roaming fees. You’ll be able to use maps, book tickets, and stay in touch while you’re out enjoying your trip.
How eSIM Works for International Travel
Once you purchase a local or regional data plan from an eSIM provider, the plan connects your phone to a local network in the country you’re visiting. You’re essentially using a local data service, just without standing in line at an airport kiosk.
Most travellers use eSIM cards mainly for data. That covers things like maps, messaging apps, email, social media, and ride sharing. If you want to make regular phone calls, you can use internet-based calling apps. Some eSIM plans also include a local phone number, but not all do. It depends on the provider and the country.
Another helpful feature is dual SIM support. Many phones allow you to keep your regular SIM active while using a travel eSIM for data. That way, you can still receive texts or calls from home if needed, while your travel data runs through the eSIM plan.
For shorter trips, you might choose an eSIM plan that lasts seven or ten days. For longer stays, there are monthly options. Some providers even offer regional plans that work across several countries, which is useful if you’re visiting more than one place on the same trip.
How to Set Up an eSIM
Setting up an eSIM is usually quick, but it helps to prepare beforehand. Here’s how the process often works:
Check if Your Phone Supports eSIM
Not every phone can use eSIM, so start by checking your device. Most recent smartphones, tablets, and some smartwatches do. Look in your phone’s settings under cellular data plans.
If you see an option to add a mobile plan, your device likely supports eSIM. Make sure your phone is unlocked as well, since locked devices may not accept a plan from another provider.
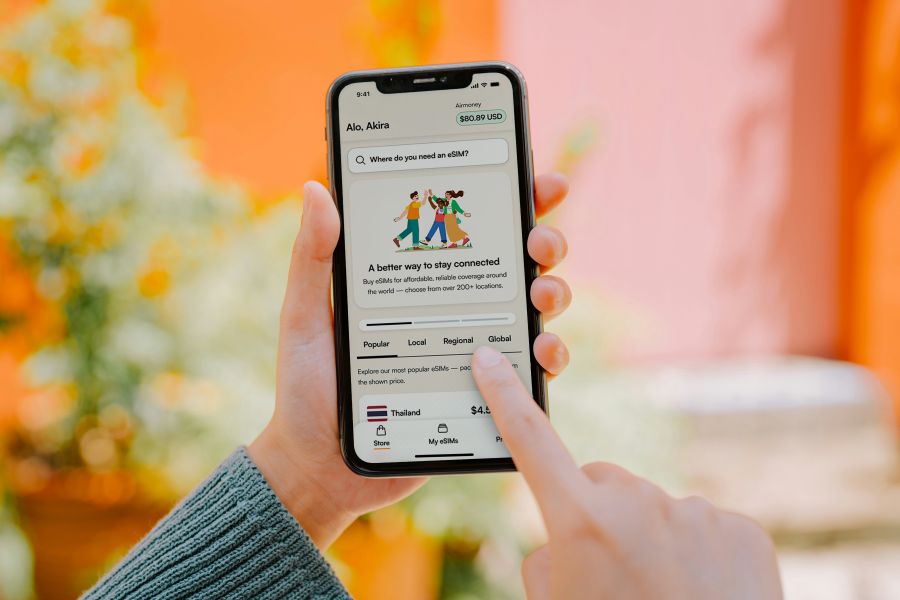
Choose an eSIM Provider and Data Plan
Next, pick a provider that covers your travel destination. Compare data limits, plan length, and pricing. Travelers visiting multiple countries often find that a regional plan saves both money and the hassle of switching data plans.
Consider how you’ll use your phone, too. Heavy users who stream videos or work online need larger data packages, while casual travelers who check maps, messages, or social media can choose smaller, shorter-term plans.
Install the eSIM Before or After You Travel
An eSIM can be installed at home or after arrival. However, setting it up in advance ensures it works the moment you land. You’ll also need a stable WiFi connection to download and activate the plan. Installation usually involves scanning a QR code or following the provider’s app instructions.
The plan stores alongside your physical SIM card. Label it for easy access, such as “Travel Data.” This makes switching between plans simple and keeps your device organized while travelling.
Switch to the eSIM for Data
After landing, turn off airplane mode and set the eSIM plan as your active data line. Your regular SIM can stay active for calls or texts from home while the eSIM handles local data.
Topping up the plan is simple and usually takes just a few taps in the provider’s app. This keeps your connection running smoothly throughout your trip.
Conclusion
Travel eSIMs make staying connected abroad easy and stress-free. It removes the need for physical SIM cards, avoids high roaming fees, and lets your phone use local data right away. With a compatible device, a good provider, and a little setup, you can manage your mobile data for maps, messaging, or streaming without hassle.


